Helping you to satisfy your taste for crafts on a budget.
"Whatever your hand finds to do, do it with all your might," Ecclesiastes 9:10
Powered by Blogger.

Tuesday, November 27, 2012

BEE Snacks

Laila's preschool uses Beatrice Bee for their school mascot. She encourages the kids to use positive behavior and make good choices. Laila's class earned 30 "bees" so they got to have a "BEE" party! Complete with costumes and pizza...and these adorable little bee snacks!


You only need 5 things to make them.


And if you can:
 
frost a cookie,
open a candy bar,
and cut a marshmallow in half,
you CAN make these!!

I saw them on Family Fun click HERE for the link to see their version. For the cookie part, I used Keebler striped cookies. They are bigger and I thought the stripes were perfect for the bee theme.

1. Add yellow food coloring to white frosting to create yellow frosting.
2. Frost the cookies
3. Place a mini Twix bar on top of each cookie
4. Cut a marshmallow into fourths, diagonally workers best to create "wings", and place 2 wings on each bee.
5. Scoop remaining frosting into the corner of a sandwich Baggie, cut open a tiny hole in the corner, and squiggle the lines onto the bee's back.
6. I had enough frosting to put 2 drops on the front of each Twix, creating eyes.

*Tip: lightly wet your fingers when working with marshmallows; it helps with the "stickiness"!


Friday, November 16, 2012

Thanksgiving Table Decor


Burlap Table Runner and Thanksgiving Tree


I never use freezer paper in the kitchen, but I do use it for crafting. It even says right on the box that it is good for arts and crafts! I guess their marketing department decided to reach those of us who are too busy crafting to spend time in the kitchen. Ha!


My first freezer paper stenciling project turned out well! I cut out the "Give Thanks" font using Cricut Craft Room - my friend Sarah showed me all about it and I used her laptop to connect to my Cricut so we could play around with it. I cut out the image on freezer paper (shiny side DOWN! - I must remember that next time) using my Cricut.

Then I ironed the freezer paper to my burlap, painted the letters, peeled the paper away, and my table runner was done! Very easy!


Then for a centerpiece, I punched out scalloped circles and asked Emma to write down things that she and her sister were thankful for. Then we attached the circles to sticks and used a vase to set them in.


Very simple but treasured project!

Happy Thanksgiving!

Thursday, November 15, 2012

Girl Scouts November Meeting

Wow! 1 hour just doesn't seem to be long enough for these meetings.

We had 3 new girls this month! Exciting! So we are up to 11 Brownies now.

We opened with the Promise.

Then we moved on to our activity, which was ironing on our new Patches onto our sashes. Each girl received the flag, the council patch, and the troop numbers. Now that they know how to do it, they can iron the rest of their patches at home (with adult supervision of course!) With a couple girls not present, and the new girls needing sashes, we only had 5 sashes to do, but with 2 irons and 2 parents helping the girls, it took most of our time.


So they learned a new skill, which is one of the things that girl scouting is all about, right? And they have something to wear for their outing this weekend!


We barely had time for our closing. We sang Make New Friends, and did our Friendship squeeze. And since I like to do atleast one thing new each time, I asked each girl to compliment the girl whose hand she was squeezing. Most of the compliments were about hair, shirts, and shoes. So we will dive into the Girl Scout Law and talk more about character virtues some more so that they can think of something a little "deeper" next time.

We are excited for our outing this Saturday at the local Children's Museum!

Girl Scouts October meeting


I'm about a month behind on this post...oops!
This was our second brownie troop meeting this fall. The first one you can read about HERE.

After handing out permission forms for our next outing, and copies of the meeting/snack schedule, we opened with the Girl Scout Promise.

Then I taught the girls the Brownie Smile Song...
 
I've got something in my pocket, it belongs across my face.
I keep it very close at hand, in a most convenient place.
I'm sure you couldn't guess it if you guessed a long, long while.
So I'll take it out and put it on, it's a Great Big Brownie Smile!


Since it is October we made paper pumpkins out of construction paper and pipe cleaners. I precut the paper strips and let them do the rest. Here is a helpful you tube video.
http://www.youtube.com/watch?v=N29mcqHpNKo


I wanted to get a picture of all the finished pumpkins, but those Brownies had too much sugar and I could not contain them long enough to even hold their pumpkins for a quick picture :(
But Emma can't escape me..ha ha..here she is with her finished pumpkin:


For our closing we sang Make New Friends, but I taught them an extra verse ... they are going to have a lot to remember for the next meeting!


Make new friends
But keep the old
One is silver
The other is gold
A circle’s round
It has no end
That’s how long
I want to be your friend
A rainbow goes from here to there
That’s how girl scouts learn to care and share


Wednesday, November 14, 2012

DIY Big Screen Stand


We recently made a big purchase, and with that big purchase came a big project to go with it.
We bought a new 60" TV (the first TV we have bought in over 10 years!) and needed a stand for it. Thanks to hubs' part time job in the maintenance dept during his college years, he became quite the handyman. And he was easily able to build himself a TV stand for his new big boy toy.
He didn't even really draw out plans; he just had the measurements in his head - unusual for him but it worked out great! He built it for about a third of the cost of what it would have been at retail. What would normally cost close to $300, he spent less than $100....plus a weekend. That was the cost for the lumber. The other materials and tools needed we had on hand.
 
He bought furniture-grade pine at Lowe's:


The dimensions are 64" wide/20" deep/16" height.
The 2 cubbies are about 14" wide.
 
Here it is in its new home aka the Man Cave:


Check out the awesome routing job on the edges:
 

Thank you honey!


Linking up at these crafty parties:
So I Married A Craft Blogger

Wednesday, November 7, 2012

November Wreath


If you are a Pinterest follower of mine, you are probably aware of my love affair with wreaths. One of my Pinterest boards is even titled "I'm in love with wreaths!" There are just so many ways to personalize a wreath, you can make them out of anything, they can be simple or extravagant, and you can change your design for different seasons and holidays!

Since Halloween is over, and November has arrived, it was time for my Halloween wreath to come down. Here is my November wreath. It is a pretty simple yarn wreath. I wrapped "Cafe" (brown) yarn around a straw wreath form, hot gluing every so often. Then I chose 2 complimentary fall colors...off white and orange...and created the X pattern with them. Then I added some felt rosettes, leaves, and a berry sprig. I usually use ribbon to hang my wreaths, but I didn't want to distract from the wreath itself this time, so I just used some twine.


My inspiration came from a wreath I saw on Etsy which cost $57 with shipping!

Here is my cost breakdown:

Straw wreath form ---- $3

3 shades of yarn ---- $9 (would cost much less if you already have the colors that you want on hand)

berry sprig ---- $1

felt in 3 shades (for the rosettes) ---- $1

Total $14 ...  again, if you have lots of yarn already, and can make use of what you have, this could only cost you a few $$!


Happy November!!
Linking up at these crafty parties:


Sunday, November 4, 2012

Triple coupons!!!


I don't remember seeing this fantastic offer before, so when I saw the ad this week, I immediately planned a quick shopping trip. Usually our local Schnucks grocery store offers double coupons up to 40c every day. So, in this area, to see triple coupons up to 50c is awesome!


How it works...just like it sounds...for every coupon (up to 50cents) you use, each one will TRIPLE, so if an item's price is less than $1.50, and you use a 50c coupon on it, it turns out to be free!


Since I saw several things that we like on the coupon matchup site that I use, it was definitely worth the time spent planning, which was maybe an hour to write my list and clip/print my coupons.

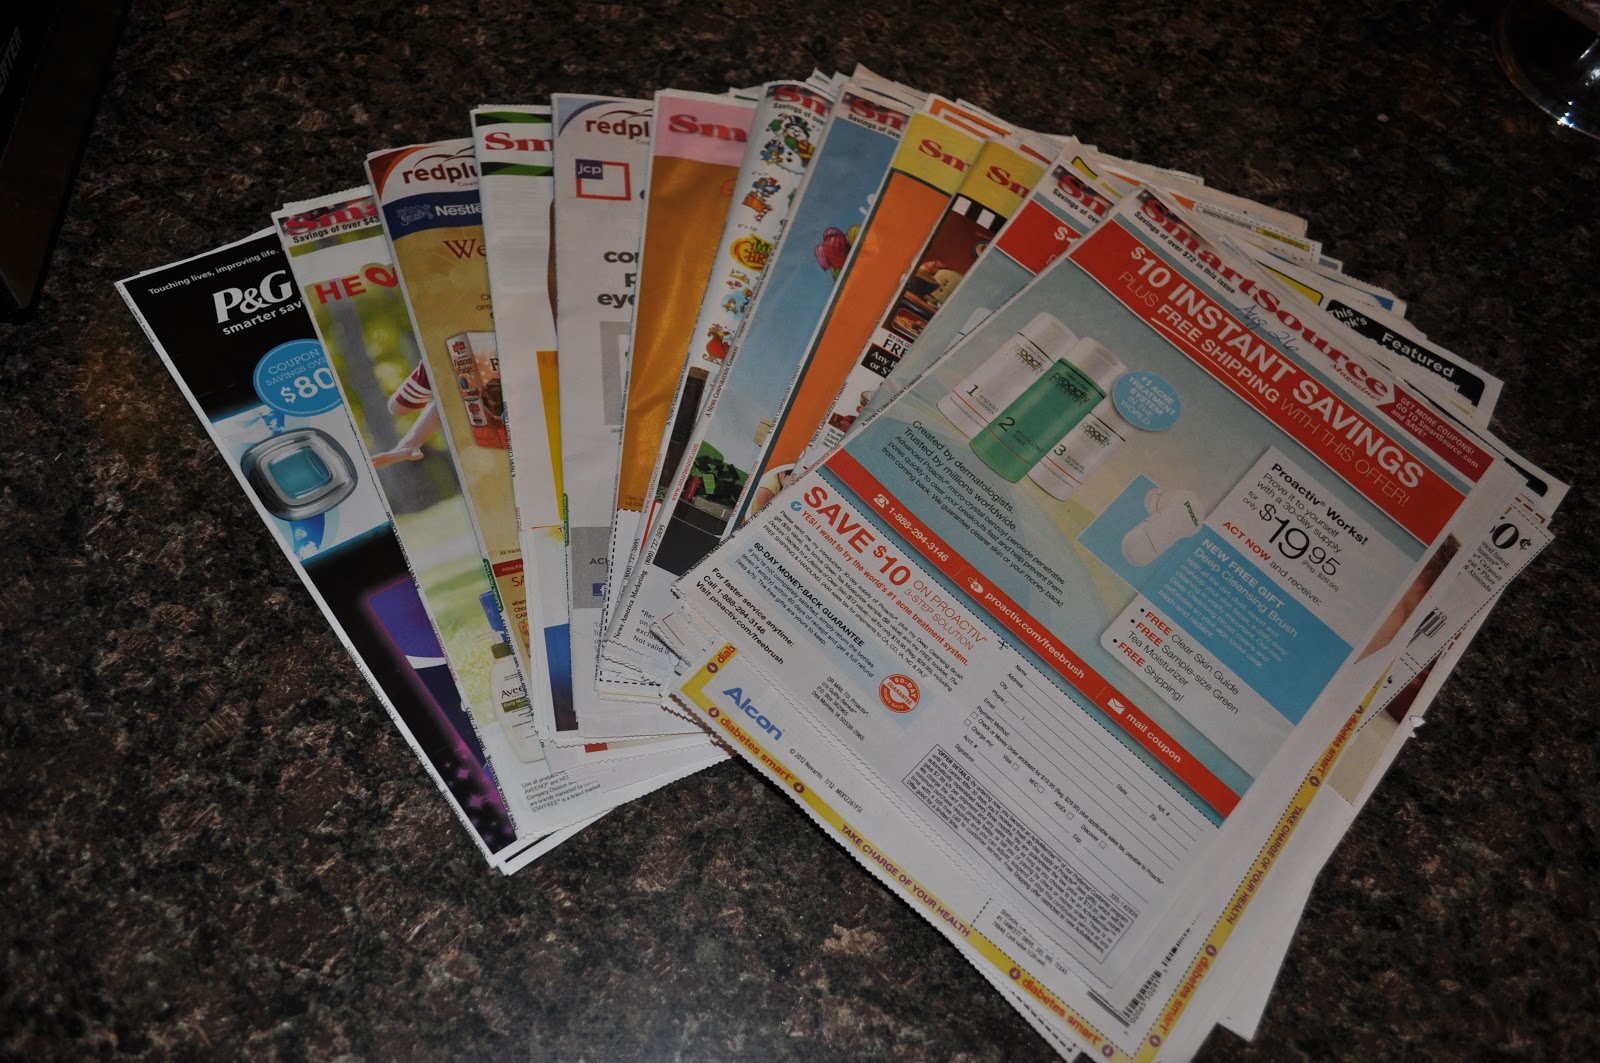
This is the pile of Sunday coupon inserts that I clipped from. The oldest was from August, so save those inserts for 3 months! (That's generally when most coupons in an insert will have expired.)


This is my pile of coupons that I clipped and took to the store with me!


Schnucks only allows 15 coupons per trip, but I had a few extra in case they were out of something or if I changed my mind on any item. I also had a $5 coupon from an old mailer that I hadn't used yet. Not knowing if they would grant it or not, I explained where I got it from and pointed out that it had no expiration date, so the cashier gladly granted it! Too bad that one couldn't triple! Ha!

This is what I bought for $11.50. I did buy few things (including chicken) that were on sale that I didn't use coupons for, so they are not pictured...but that is why my grand total is higher than $11.50.
But I wanted to know exactly what I spent on my triple coupon items.


In all, I saved $41! This includes sales and coupons.


I usually just use coupons on household items, and occasionally use a coupon on a food item. But every once in awhile when I see an offer like this, it's too good to pass up. And if you have just a little extra time, it's absolutely worth the effort to clip those coupons and plan an extra shopping trip!