
Cookie Season has come and cookies are being delivered right now. Our troop sold nearly 550 boxes this year.
For our meeting, I found a fantastic game called Cookie Twister. You know the old 80s game with the colored mat where you tangle yourselves all up trying to put your hands and feet on the right colors without falling over? Yeah, that, except instead of colors you have large, blownup pictures of the various girl scout cookies! I found all the printables for the game at another girl scout website via pinterest. Click HERE for the link.


You also print out the Cookie Twister spinner page and make an arrow. I used cardboard which didn't work super well, but it served its purpose.

Since these need to be taped to the floor, you will need heavyweight plastic protectors if you plan on using them again since they will get all torn. I found a 25 pack at Walmart for $4.94. I taped them to the floor with painters tape.

Basically, you spin the arrow, and the first girl in line has to put either her left foot, left hand, right foot, or right hand on the corresponding cookie picture. Then spin the arrow again and the next person does the same, following whatever the arrow tells her to do. Each girl takes a turn, trying not to fall over or knock anyone else over. The last person standing wins. I did not take any pictures during this because I am too busy during meetings, but I found it best to just have the girls team up in 2's and those 2 play until one of them falls over. Then the next set of girls steps in to play. They had fun!
For our craft, I chose popsicle stick bracelets. Girls like jewelry and it is a relatively simple craft that just requires a little preparation ahead of time.
First I soaked a bunch of popsicle sticks in hot water for an hour or so, they need to be warm but not too hot to handle when you go to bend them. When you bend them, bend slowly and place inside a glass to hold their shape. I let them dry overnight. Looks like a bunch of bandaids and if someone were to come over they are going to wonder what in the heck kind of experiment is going on in your kitchen. It was science fair season in our house at the time, but that is another experiment!

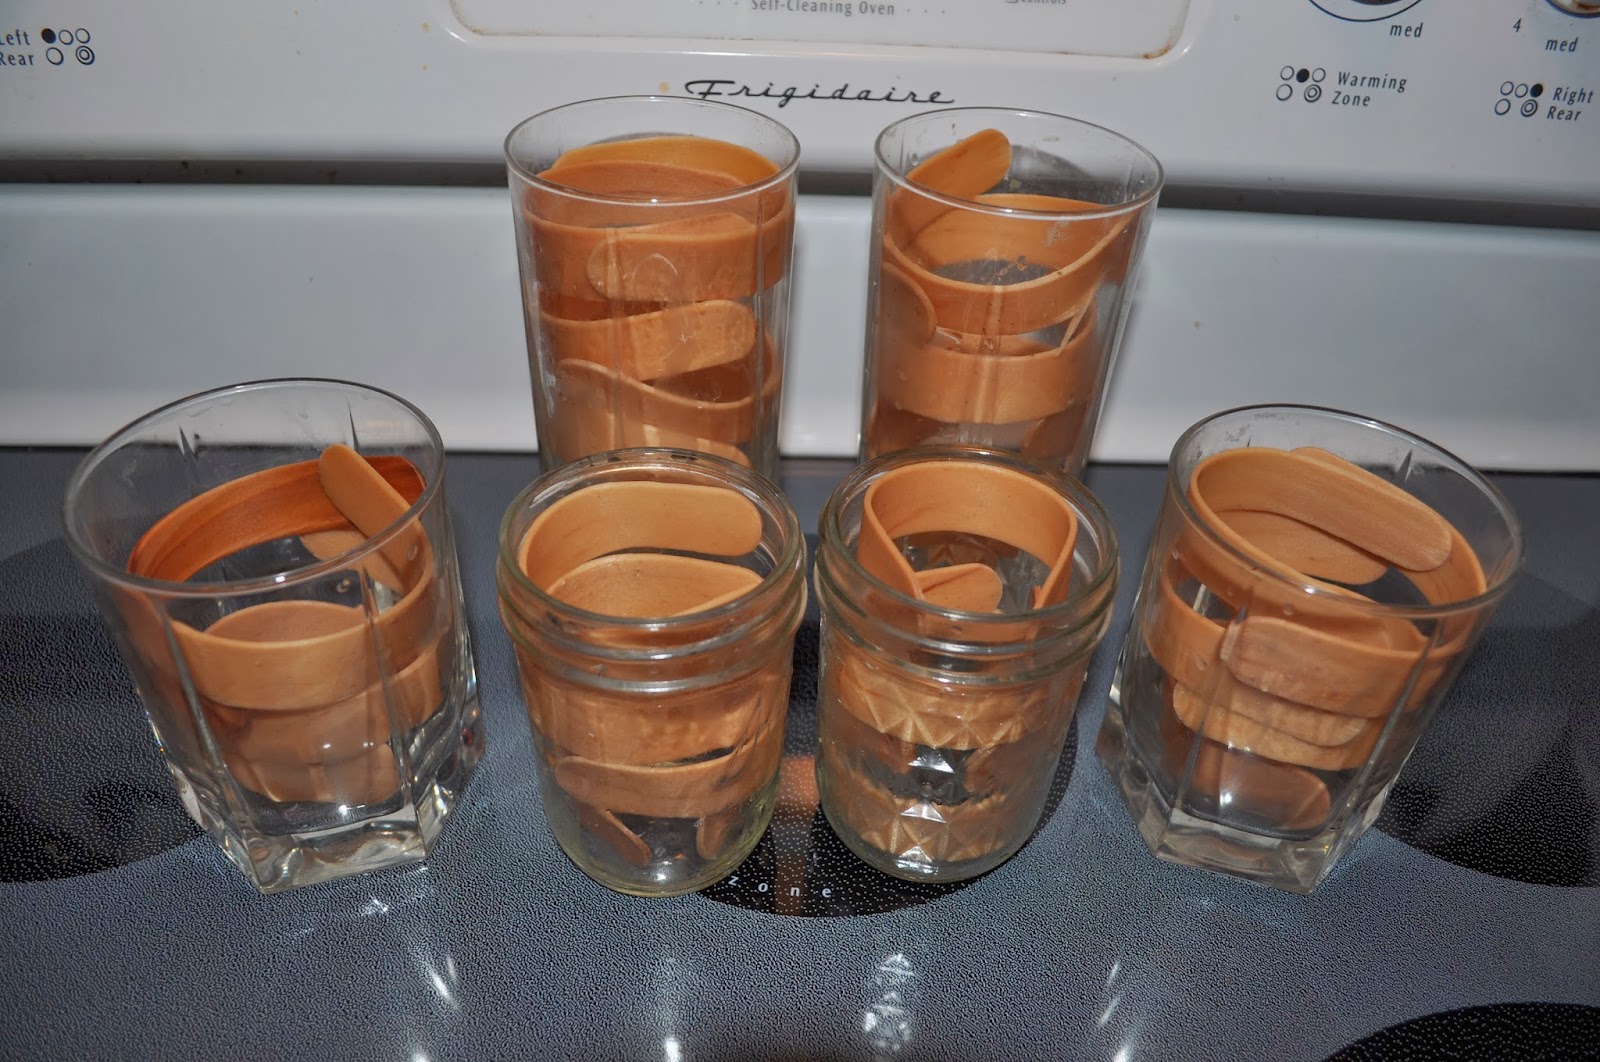
The tricky part is finding the right size glass. If it is too wide, the bracelets will be too big. In this picture, the top 2 are good size, the bottom 2 are too big. Sometimes bracelets that were in the same glass came out different sizes because of the shape of the glass. So I had to throw a bunch away, but that's ok because I made plenty more than I needed. Also, some will split or break when you go to bend them, so make sure to make way more than you plan to use.

Once they are dry, pull them out and get creative. I wanted to try several different ways to decorate; paint, marker, fabric, scrapbook paper. So I tried some out at home and they all worked. So I brought a little bit of everything to the meeting so they could be as creative as they want. Emma painted hers black and detailed it with red puffy paint. Laila (who likes to come along with me to some of the meetings for fear that she might miss out on something fun) wanted purple fabric on hers with her name painted on in pink. I did not take any pictures of the scouts creations, but they were a mix of paint and fabric, some with paint stripes and some with different fabrics wrapped around.

There are lots of possibilities with this and allows them to use their creativity to make something they can take home and wear. Have fun with it!


