Helping you to satisfy your taste for crafts on a budget.
"Whatever your hand finds to do, do it with all your might," Ecclesiastes 9:10
Powered by Blogger.

Saturday, August 24, 2013

Playroom update for under $100

My baby girls are growing up fast and some days their imaginations just blow my mind.
They LOVE to
  Play house
Play school
Play store
They even played court the other day!
Pretend pretend pretend! Imagine imagine imagine!

I wasn't really planning on a whole room renovation but I wanted to give them a room where they could let their imaginations run wild. So the old nursery theme went out to make room for a big girl play room!

The room used to have yellow on top and lime green on bottom with a blue/yellow moons/stars wallpaper border around the center. I removed the border and painted the bottom white. I decided to keep the top color because the yellow (butter, to be exact) is cheery and good for a playroom (ok, and to save myself some work :).

BEFORE:

 
Me in the rocker all ready for baby Emma (2004)!
 

Ok, not a nursery picture, but I came across this cute pic of my pregnant belly and favorite kitty right before Emma was born:

Oh, and cant forget Laila...pregnant belly 2008...


...ok back to the room update...

AFTER:


I created the girls' names out of wooden letters that I modpodged with scrapbook paper.


I already had the Emma letters, so I just needed letters for Laila's name. She has been asking me for quite awhile now why Emma had her name on the wall and she didn't. So now she is happy! I ordered the Emma ones 9 years ago already painted. For Laila's letters, since I was going to cover them with paper anyway, I bought unpainted wood letters. I bought the chevron scrapbook paper at Hobby Lobby.


PRINTABLES! Love them!

The one on top is fruits of the spirit subway art...purchased from Etsy for $6.50.


The one in middle is one of my favorite verses that is great for a girls' room. It is 1Peter3 framed quote...purchased from Etsy for $3.99.
It reads: "Your beauty should not come from outward adornment....rather it should be that of your inner self, the unfading beauty of a gentle and quiet spirit, which is of great worth in God's sight."


The one on bottom is a rainbow chevron pattern with "Somewhere over the rainbow"...FREE printable from here.

I framed each them each in document holders I found at Walmart for $4.97 each. Much cheaper than regular 11x14 frames with mats!


Still thinking about ordering this awesome MAP...I thought I had enough prints, until I found this...I love this! Because I really want this room to be more of a big girl/imagination/learning and making fun memories room, more than a regular playroom.
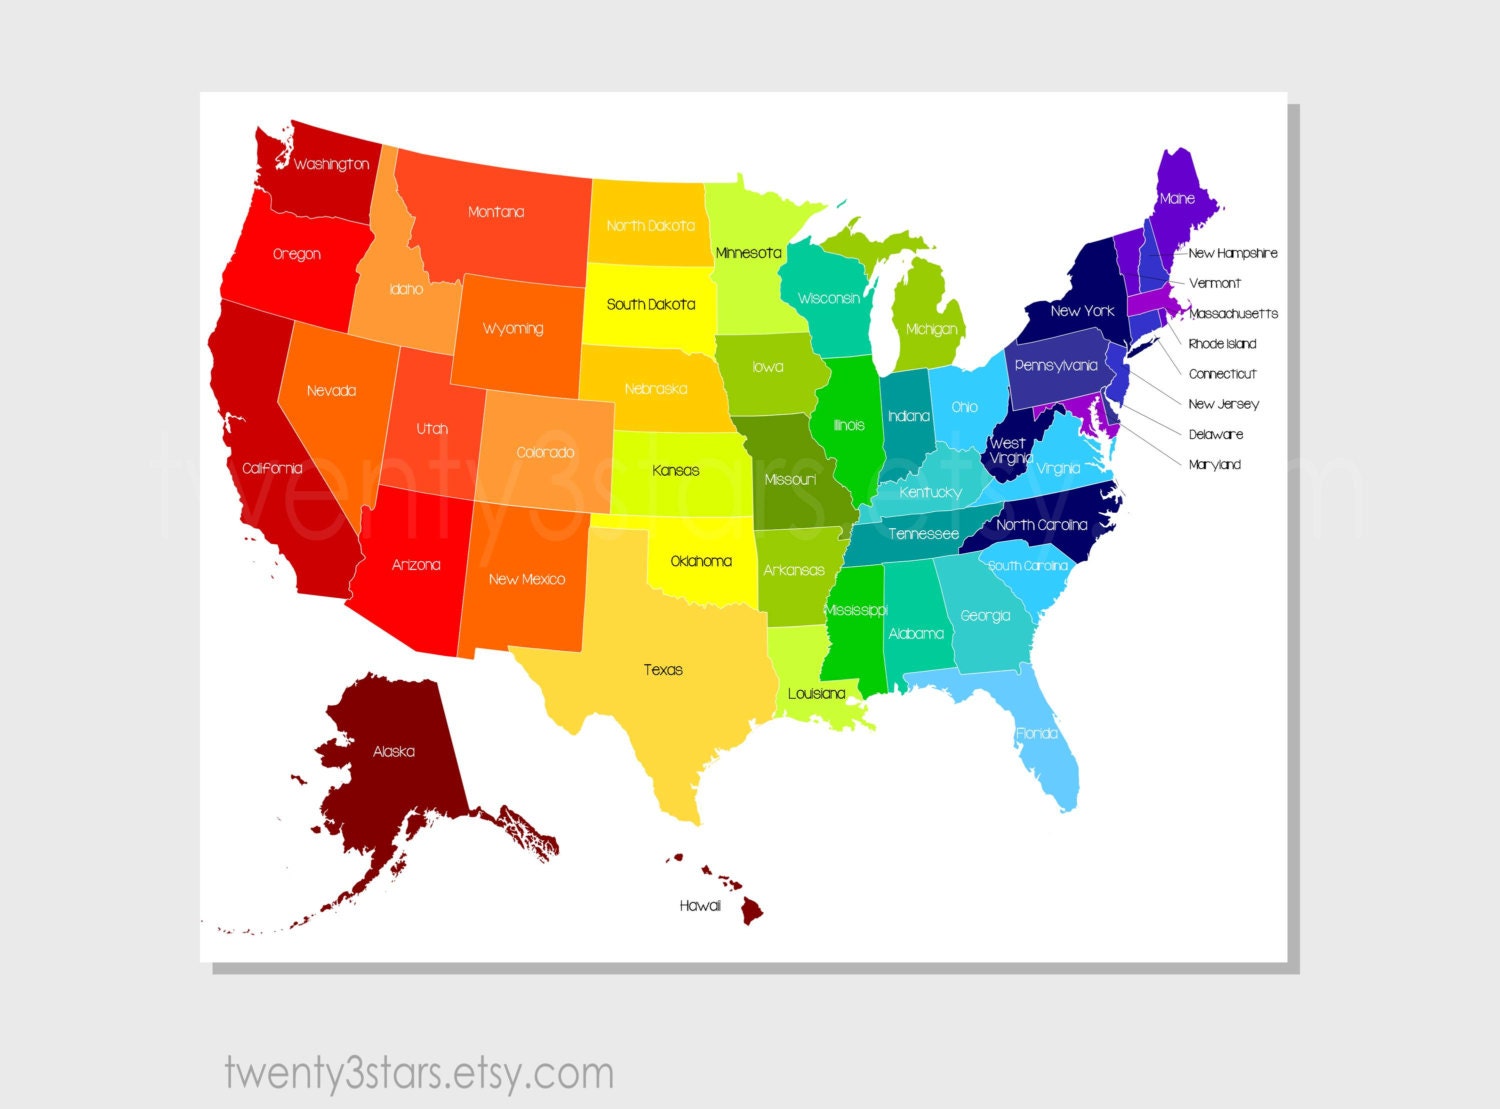
United States Map Art, Rainbow Art with Labeled US States, or Choose Your Own Colors, Playroom Nursery Digital Art Print


I made this scrappy fabric valance from several different strips of fabric for about $10. I found this in our Walmart fabric section, the 24 strips are already cut to 2.5" x 42", perfect for a valance. Yes I could've picked out several different fabrics, ask the lady to cut them, then go home and cut strips, but I didn't have to since I found this! I added some pieces of tulle that I already had, and that was it! Pretty sure I made it in less than 5 min, well a little longer cause I kept adding more and more tulle.


This is a rainbow swag made from paint chips I picked out at Home Depot (FREE!) how fun is that?
I used a 2" scalloped circle punch and punched a few circles from each card. I also punched out some chevron circles from the leftover chevron scrapbook paper. Then I used the sewing machine to sew /string them together!


I liked the chevron look so much that I used rainbow chevron scrapbooking paper to cover the ugly old outlet covers. You can use fabric for this, but paper is cheaper and in my case, easier to find. I almost ordered chevron fabric off Etsy. But for .29 cents, I opted for the cheaper route.


Some repurposed shelving pieces filled in the other walls. And a repurposed hanging planter holds stuffed animals.


Display wall...letters $7 for 4 (on sale for 30% off)
                     ...scrapbook paper $2.32 (on sale for .29c each)
                      Framed prints $25


Valance.......$10 (plus $5 if you want to add tulle)

Paint and supplies.....$30

Grand total...$80. There are a few pieces that I still want to paint (table and bench) and a few things I might make. I would like to update the light fixture and make a rag rug. So I could still come in under $100 when all is finished.

Do I dare post a "Real Time" picture? Of course! I'm warning you though, if you're a neat freak, DO NOT look!


AAAAHHHHHHHH!!!!!!!!!!!
Just keepin' it real! So all you moms can tell me that your living rooms and kids bedrooms look like this on a daily basis too!


Wednesday, August 14, 2013

Sock monkey scrappy tutu

Who hasn't fallen in love with a cute little sock monkey? How about a sock monkey scrappy tutu?

I made this for my friend's little girl who just turned ONE! She even had a sock monkey shirt to match!

Her nursery is a sock monkey theme. So I decided for her first birthday she needs a cute scrappy tutu to wear!


I started out with sock monkey fabric I bought at Hobby Lobby.


And picked coordinating colors to compliment it,
both fabric and tulle


Cut them into 1-2" strips


And tied onto elastic!


A very simple DIY gift for a baby girl!


Wishing her a wonderful 1st Birthday!

Monday, July 8, 2013

Fourth of July Housewarming Gift

We just got back from vacation where we stayed with our cousins in their new home. They graciously let us stay with them for 3 nights and kept us entertained with food, fireworks, and plenty of time out on the lake! And since my patriotic wreath last month turned out nice {click HERE to see it}, I decided to make my cousin a wreath for her front door, as a thank you. I made it exactly like I did mine. I wrapped a styrofoam wreath form ( more expensive but I couldn't find a big enough straw one at Walmart or Michaels) with strips of burlap fabric that I cut. I really need to try the pool noodle idea but since this is a gift, ya know...she might take it apart one day and see an old faded beat up remnant of a pool noodle and know how cheap I really am, so I decided to splurge on a nice new sturdy smooth styrofoam one. I also found some wired stars at Dollar Tree (sorry I don't have a closeup pic of it).


After wrapping the burlap, I made a bunch of shabby flowers. I bought a quarter yard of red white and blue fabric at walmart and cut it into strips to roll the flowers. I also used scrap red white and blue fabric and even some scrap burlap for some solid colors.


I used straight pins to secure the flowers to the wreath so that she can remove them if she wants to change them out.


For the letter G, I spray painted a plain wooden letter with red. I just fit it in between the wire stars and the wreath and it held in place pretty well.


Since I really liked the addition of the new fabric and the stars, I added them to my own wreath and I think they really make a nice difference! 

                           Before:

                             After:


This wreath form was larger than mine and the letter G that I had originally bought (seen in the first picture above) just didn't look right in the center and it just seemed too small, so I bought a bigger one and wired it to the side of the wreath. So when you are shopping for accessories for your wreath, be sure to think about the size of them in relation to the overall size of the wreath. If they are too small, they will not stand out as nicely.


                                   Before:
                              After:
 
 
Do you see the difference?
I like the font a little better too. It is a little "curlier" rather than "block" style.
I found it at Hobby Lobby.
Here it is closeup:


Word to the wise: If your front door gets a lot of sun, be careful using wreaths with lots of hot glue because it WILL melt and the wreath will fall apart. This is true even in winter, if it gets direct sunlight. Luckily, I have a north facing door that never gets direct sunlight, so I have never had this problem. But I have heard from others that this is possible.

The estimated cost for this gift was: $13
$7 styrofoam wreath form (used a 40% coupon off a $12 one)
$1 burlap
$1 red white blue fabric (you could use fabric scraps)
$1 wired stars
$3 letter G

Friday, June 28, 2013

Kids Craft - Dreamcatchers


I post all the time about crafts that I enjoy. And a lot of them are done with my kids next to me doing something similar with more "kid-like" materials. This week my kids did a project entirely on their own, without any help from me.

Like any kid, they occasionally have bad dreams, my oldest especially. We have a lot of mornings tripping over  kids on the floor in our room because they find their way into our room during the night. We have also had several nighttime storms lately. Thunder at bedtime is not something you want to go to sleep to.

So in an effort to help them feel more comfortable in their room, and encourage their creativity, I suggested that they make their own Dreamcatchers!

Since this is a kid project, it is very cheap and made with very common items.

We started with paper plates, yarn, lots of stickers, and tape. Because my kids LOVE tape!!!


First, cut a hole out for the center. Then string pieces of yarn from side to side to create a web in the center. Then decorate the outer circle with anything you want. Also, you can hang yarn from the bottom and add random things from around the house that you like, ours are very random!


Here are the finished products:


Since they share a room, they chose to hang it on their bunk bed.


Goodnight.....sleep tight.....don't let the bed bugs bite! (That's what we say every night at bedtime!).


Linking up at...


Thursday, June 6, 2013

Patriotic wreath

Summertime calls for a patriotic wreath.
I have not yet made myself a red, white, and blue wreath so I made sure to make myself one this summer.


First I bought a 16 inch straw wreath form for $5. then I grabbed a piece of burlap about a yard or so in the Walmart fabric scrap bin on the side of the cutting table. It was only $2! All of the shabby flowers I made out of my fabric scraps. The letter K I bought for $1 and spray painted it red. So here you have an $8 project!

I cut the burlap into strips, then wrapped the wreath form with the strips, hot gluing as I made my way around. Then I used hot glue to make the shabby flowers. I want to be able to change out the flowers for different seasons, so instead of hot gluing them to the wreath, I used straight pins that can be removed without damaging the flowers or the burlap. Then next summer I can pin them right back on!

I used twine to hang the letter in the middle, then a bright red ribbon to hang the wreath.

I could trim the burlap strings, but I want to keep the shabby look so I decided to leave it alone.

A little late for Memorial Day, but in plenty of time for 4th of July!