Helping you to satisfy your taste for crafts on a budget.
"Whatever your hand finds to do, do it with all your might," Ecclesiastes 9:10
Powered by Blogger.

Sunday, October 13, 2013

How to Host a girl scout bridging ceremony for cheap

It is definitely fall and we are back to school and in full swing of activities! So now that we are back to girl scout meetings, it is time for our girl scout bridging ceremony, where my Brownies bridged to Juniors! Also known as the "Fly Up" ceremony.

For the ceremony part, I created a way for each girl to step up to receive her award, by making a step out of empty pallets. Home Depot was so kind to donate them to us. I asked for 3. I covered them with 2 plain white table covers ($2) from Dollar Tree. This sort of signifies a "bridge". I prettied them up by tying balloons to the sides.


As each girl crossed over, she received a Junior uniform, membership pin, badges, and a bridging certificate. *Note how my little Miss Laila is not far from me during any of this. Can you see her?


The certificates were free printables I found online. I just printed them off onto white cardstock and filled in the names.


No ceremony is complete (ok, nothing involving kids is complete) without refreshments, and since this is a celebration, I asked parents to volunteer bringing cupcakes, treats, and drinks. I bought green and brown candy melts at Michaels for a thin mint puppy chow recipe I wanted to make from Pinterest (click here for the link), but it didn't turn out as pretty as the picture because after the cereal was coated in powdered sugar, you couldn't see the green/brown colors, it just looked like every other batch of puppy chow I've made. But it did taste like girl scout thin mints and they were still a hit!!


The only cost involved from our troop budget was for the balloons (I bought a dozen latex balloons for $17) and party supplies for $12 (green tablecloths, plates, napkins).You could even ask parents to volunteer that part too if you needed.

Now we will work on earning some badges and patches for our new vests! Here are some pictures of our ceremony:


Congratulations Juniors!

Sunday, September 29, 2013

Updated Living Room

So we have lived in our home for nearly 11 years and have never painted the main living room! We have painted kids bedrooms, bathrooms, kitchen, even the man cave, but never the main living area. So it was finally time. We picked Behr paint in Plateau, a light beige tone.


It isn't a huge change but after realizing how plain and dirty our white walls were, it was a necessary change. This room gets lots of sunlight, and it is just the right amount of warmth I was looking for. With a bi-level home, the area above the stairs can be very tricky, but John tackled it without any trouble. See him in action...one foot on the ladder, the other on the ledge...yikes!


Here are the new walls:


 Not sure what to put on the half wall above the steps. Any ideas??


 I painted a lot of frames black when I was hanging pictures back up. I really need to update the large 20 x 24 portrait on the left, it is 3 years old!
The wedding portrait frame used to be gold. I very carefully taped off the painted canvas and spray painted the edges.


This is the wall that connects the living room and dining room. My Thomas Kinkade painting that we bought on a cruise is in the center. On the left is a free printable:

"People who love to eat are always the best people...Julia Child"
 
On the right is just a crazy family picture.
 
Credit to the source Girl Wife Mom


The dining room accent wall was already painted a green color but I still needed to update the frames.

I found 2 free printables:

Credit to the source Creatively Southern.

Credit to the source I Heart Naptime.


Downstairs I updated one wall on the side of the stairs. I was sort of going for a look I saw on another blog you can see HERE, I love the gallery look. I bought 4 initials; 1 for each of our names. These were already painted. I just hung them using ribbon and command hooks.


So that was our big Labor Day Project. Luckily the kids went to Grandma and Grandpa's house for the weekend so that we could tackle this project. Thanks Mom and Dad! Then I spent the month of September finding old frames (from my own closets) and spray painting them and updating them. We purchased 4 gallons of paint at $34.98 each, but only used 3. And on Labor Day weekend, Home Depot offered a $10/can rebate. So I have a $40 rebate on its way! So basically I got the 4th gallon free, I just need to find someone who can use it.

I think we are done with big painting projects for awhile...happy Fall everyone!
Now what to do with that $40 Home Depot Rebate...:)

Saturday, August 24, 2013

Playroom update for under $100

My baby girls are growing up fast and some days their imaginations just blow my mind.
They LOVE to
  Play house
Play school
Play store
They even played court the other day!
Pretend pretend pretend! Imagine imagine imagine!

I wasn't really planning on a whole room renovation but I wanted to give them a room where they could let their imaginations run wild. So the old nursery theme went out to make room for a big girl play room!

The room used to have yellow on top and lime green on bottom with a blue/yellow moons/stars wallpaper border around the center. I removed the border and painted the bottom white. I decided to keep the top color because the yellow (butter, to be exact) is cheery and good for a playroom (ok, and to save myself some work :).

BEFORE:

 
Me in the rocker all ready for baby Emma (2004)!
 

Ok, not a nursery picture, but I came across this cute pic of my pregnant belly and favorite kitty right before Emma was born:

Oh, and cant forget Laila...pregnant belly 2008...


...ok back to the room update...

AFTER:


I created the girls' names out of wooden letters that I modpodged with scrapbook paper.


I already had the Emma letters, so I just needed letters for Laila's name. She has been asking me for quite awhile now why Emma had her name on the wall and she didn't. So now she is happy! I ordered the Emma ones 9 years ago already painted. For Laila's letters, since I was going to cover them with paper anyway, I bought unpainted wood letters. I bought the chevron scrapbook paper at Hobby Lobby.


PRINTABLES! Love them!

The one on top is fruits of the spirit subway art...purchased from Etsy for $6.50.


The one in middle is one of my favorite verses that is great for a girls' room. It is 1Peter3 framed quote...purchased from Etsy for $3.99.
It reads: "Your beauty should not come from outward adornment....rather it should be that of your inner self, the unfading beauty of a gentle and quiet spirit, which is of great worth in God's sight."


The one on bottom is a rainbow chevron pattern with "Somewhere over the rainbow"...FREE printable from here.

I framed each them each in document holders I found at Walmart for $4.97 each. Much cheaper than regular 11x14 frames with mats!


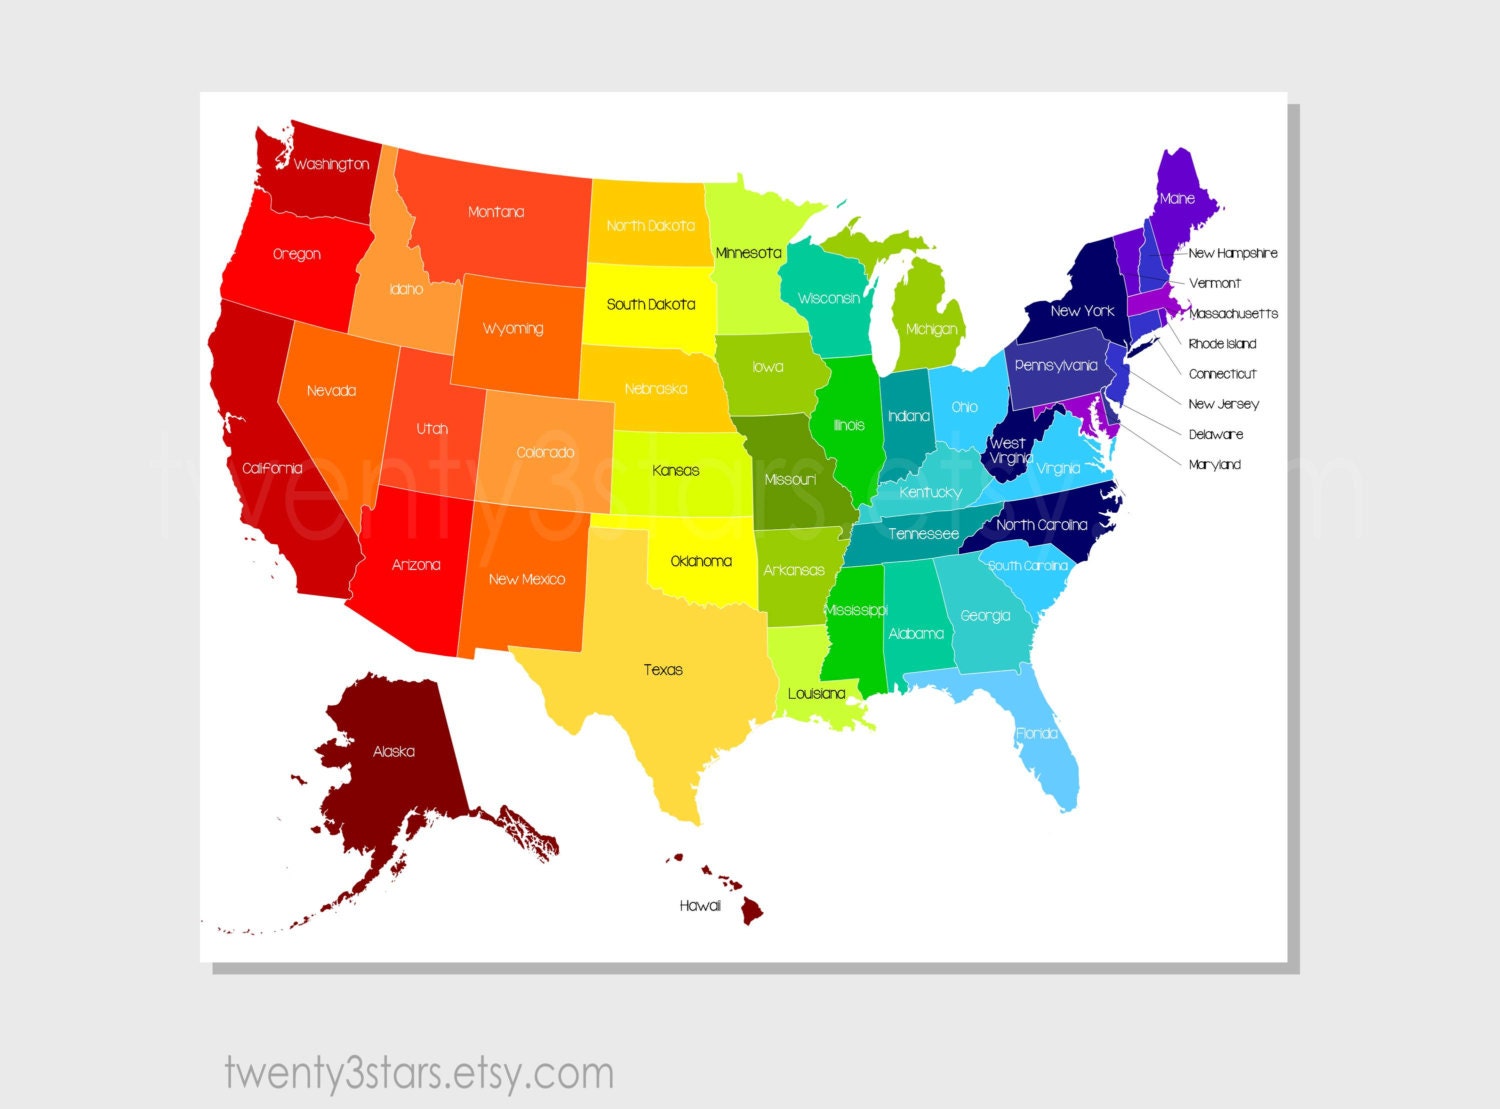
Still thinking about ordering this awesome MAP...I thought I had enough prints, until I found this...I love this! Because I really want this room to be more of a big girl/imagination/learning and making fun memories room, more than a regular playroom.

United States Map Art, Rainbow Art with Labeled US States, or Choose Your Own Colors, Playroom Nursery Digital Art Print


I made this scrappy fabric valance from several different strips of fabric for about $10. I found this in our Walmart fabric section, the 24 strips are already cut to 2.5" x 42", perfect for a valance. Yes I could've picked out several different fabrics, ask the lady to cut them, then go home and cut strips, but I didn't have to since I found this! I added some pieces of tulle that I already had, and that was it! Pretty sure I made it in less than 5 min, well a little longer cause I kept adding more and more tulle.


This is a rainbow swag made from paint chips I picked out at Home Depot (FREE!) how fun is that?
I used a 2" scalloped circle punch and punched a few circles from each card. I also punched out some chevron circles from the leftover chevron scrapbook paper. Then I used the sewing machine to sew /string them together!


I liked the chevron look so much that I used rainbow chevron scrapbooking paper to cover the ugly old outlet covers. You can use fabric for this, but paper is cheaper and in my case, easier to find. I almost ordered chevron fabric off Etsy. But for .29 cents, I opted for the cheaper route.


Some repurposed shelving pieces filled in the other walls. And a repurposed hanging planter holds stuffed animals.


Display wall...letters $7 for 4 (on sale for 30% off)
                     ...scrapbook paper $2.32 (on sale for .29c each)
                      Framed prints $25


Valance.......$10 (plus $5 if you want to add tulle)

Paint and supplies.....$30

Grand total...$80. There are a few pieces that I still want to paint (table and bench) and a few things I might make. I would like to update the light fixture and make a rag rug. So I could still come in under $100 when all is finished.

Do I dare post a "Real Time" picture? Of course! I'm warning you though, if you're a neat freak, DO NOT look!


AAAAHHHHHHHH!!!!!!!!!!!
Just keepin' it real! So all you moms can tell me that your living rooms and kids bedrooms look like this on a daily basis too!


Wednesday, August 14, 2013

Sock monkey scrappy tutu

Who hasn't fallen in love with a cute little sock monkey? How about a sock monkey scrappy tutu?

I made this for my friend's little girl who just turned ONE! She even had a sock monkey shirt to match!

Her nursery is a sock monkey theme. So I decided for her first birthday she needs a cute scrappy tutu to wear!


I started out with sock monkey fabric I bought at Hobby Lobby.


And picked coordinating colors to compliment it,
both fabric and tulle


Cut them into 1-2" strips


And tied onto elastic!


A very simple DIY gift for a baby girl!


Wishing her a wonderful 1st Birthday!