Helping you to satisfy your taste for crafts on a budget.
"Whatever your hand finds to do, do it with all your might," Ecclesiastes 9:10
Powered by Blogger.

Monday, May 19, 2014

Girl Scout Apr-May Meetings

Our last 2 scout meetings for the year I combined into 1 post. The meetings were actually very similar.
For April, we had a Game Night. We played Apples to Apples (Junior edition) and Twister. The real twister, not the Cookie Twister game that we played earlier this year.


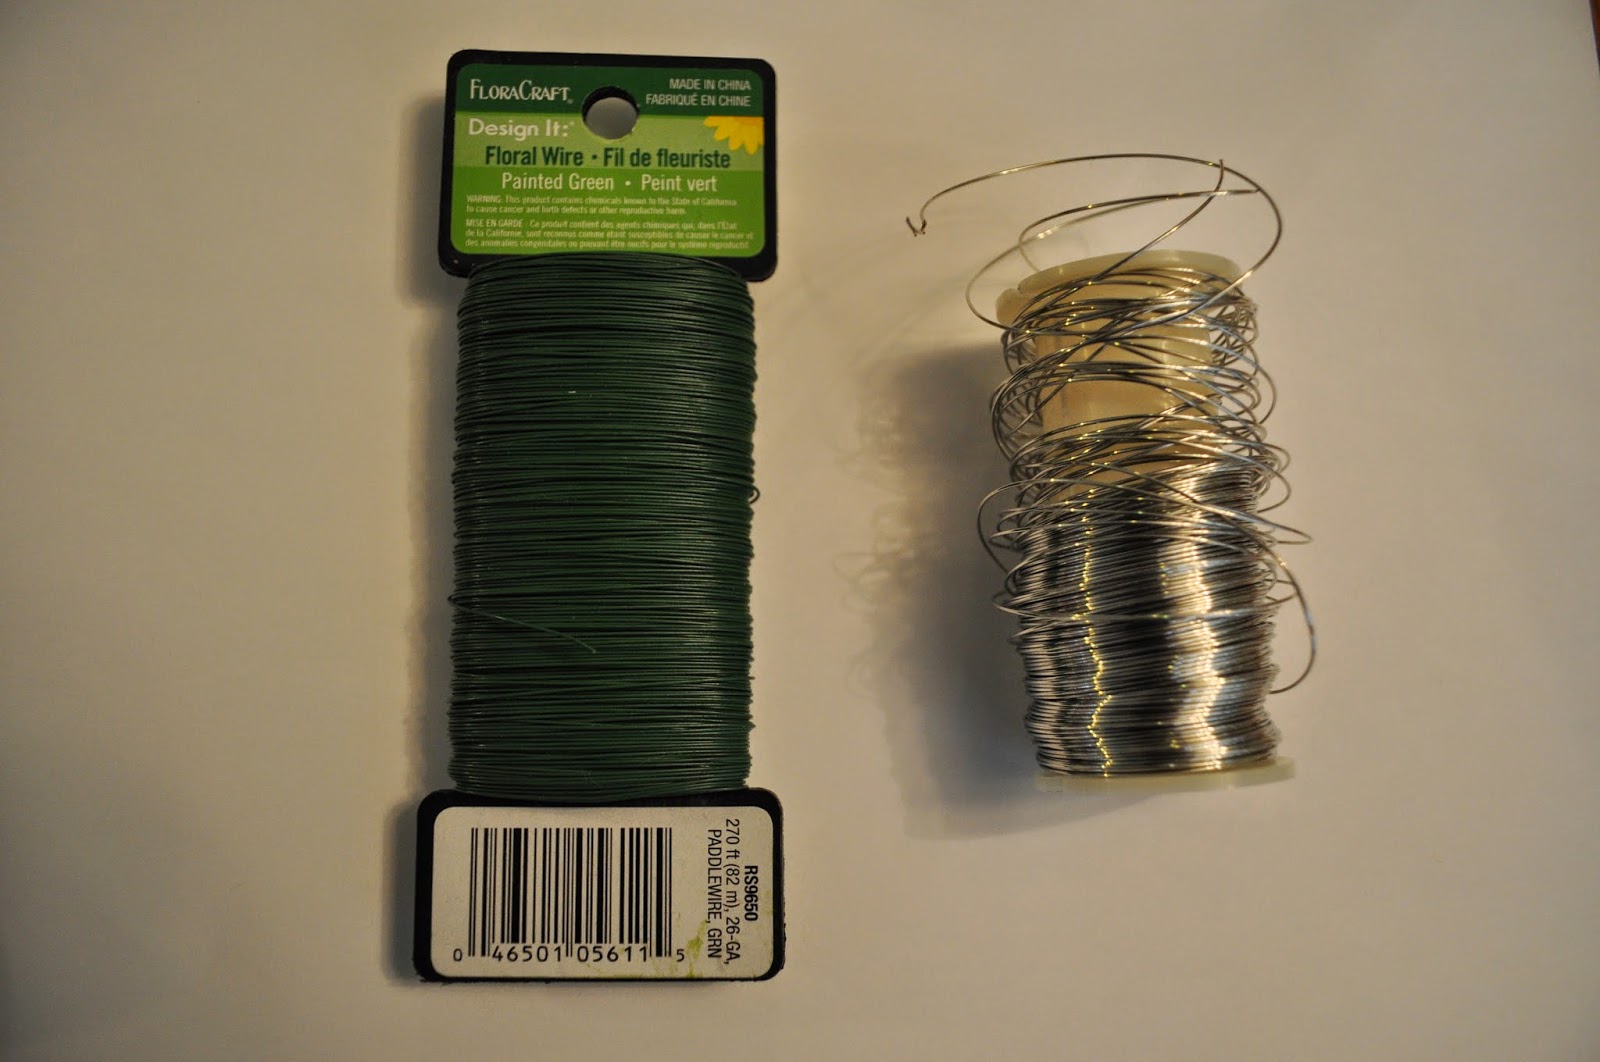
For our craft we made yarn hearts. I supplied wire and yarn and let them get to work.You can use either green floral wire or craft wire, and we just shaped them into the form of hearts, twisting at the center to hold.


I didn't get any pictures of the finished creations at the meeting but here are the ones we made at home. The one on the left is the first one I made. The one on the right (yes, that's supposed to be a heart, lol) is Emma's.

These are just decorative things you can hang anywhere you want. While planning for these, I had a thought to make yarn nests for the birds.
 Something like this found at

You fill something with all kinds of things that birds can use to make nests with; yarn, string, cotton, fabric scraps, lots of different things. A great idea would have been to save those mesh bags that produce comes in, but I didn't think in enough advance to save up. So that's an idea that I might save for this summer for my kids at home.


For May, our last meeting, I decided to play another game. I brought Brain Quest. It is similar to Trivial Pursuit, where they spin and get a category, and answer trivia questions from each category, collecting tokens as they answer correctly. They actually knew most of the answers in the 4th grade category, and did pretty well. The categories were Arts, Science, Math, Reading, and The World.


Duct tape is so popular with this age group these days that I chose to do duct tape crafts. I brought several rolls that I bought at Walmart and Michaels. Office Depot also lots of neat duct tape designs!!I showed them how to make a braided bracelet. One of the girls brought her tape from home and even showed the other girls how to make bows, wallets, and purses. I also practiced making flowers before the meeting but its more complicated and we didn't get to it but it is pinned on my Pinterest page for the future.


The girls are all signed up for an overnight trip to a local museum in July that should be lots of fun.

I received this awesome leader appreciation gift from our council leader. I have decided to resign as troop leader because Emma is dedicating all her time to playing girls select softball and is not going to be a scout next year. I'm still working on finding a new leader.


Have a great summer!!

Wednesday, April 23, 2014

Cancer Awareness Wreath

This is one man in my life who I deeply respect and love. My Father-in-Law! He has struggled through cancer for the past couple years but has remained very strong in the eyes of his children and grandchildren. He just completed another 5 week round of radiation treatments and got to ring the bell!


I sure wish there was more we could do for him through all of this. We think of him and pray for him all the time. We "zumba-d" last year for cancer awareness, and we've been to Relay For Life to see him stand up for what he's fighting.

His whole community is behind him, and to raise more awareness I made this wreath for their front door. Because We Have HOPE in him!!

Now for the details...I wrapped a straw wreath form in natural burlap ribbon. Wrapped the bottom right corner with purple ribbon, added flowers and a little more ribbon and a bow at the top. Since I just love the look of the center pennant, I added one of those too using scrapbook stickers to spell out "HOPE".

 
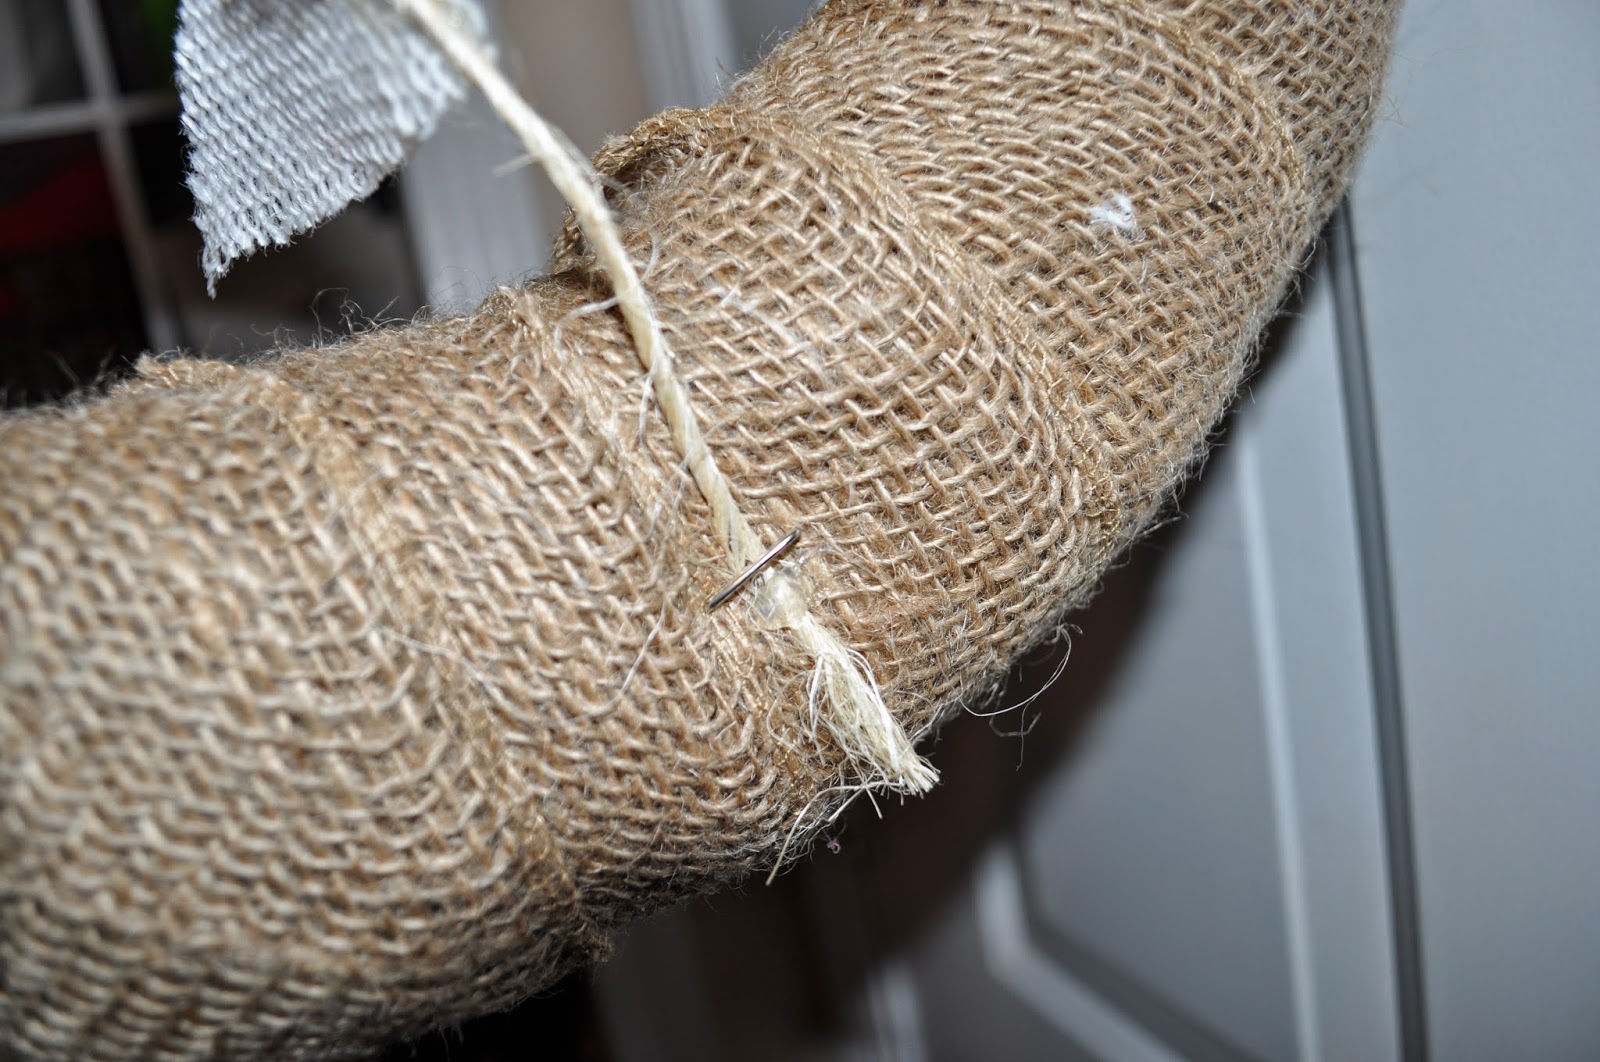
I like to make and re-make wreaths (for different seasons) a lot, so I started using these Tpins that work great for wreaths! They go right in and hold things in place and come out easily for when you're ready to change out your flowers, bows, ribbons, anything. They just look like a staple once they're in.


We Love You Mike!


Sunday, April 13, 2014

Diaper Wreath

Diaper Wreath
What do you do for someone who has 4 daughters and another {unknown gender} baby on the way? Diaper Shower!! A member of our church life group is expecting baby #5 any day. We meet in our home once a week to study the previous Sunday's sermon. We have about 5 families, including lots of kids that attend. It's great because it is a way to feel more connected to our church family, and develop stronger friendships within that family.
So for this week's life group meeting, we asked everyone to bring a box of diapers so we could surprise the expecting family and shower them with blessings. One of our members happens to be a caterer, so she brought lots of goodies for us to enjoy too. We sure covered the "fellowship" part this week!


I know that looks like Laila, but it is just her little lookalike. :) She is one of the lucky sisters to be! She photobombed the gift table and blocked the wreath, but it is standing up in between the boxes in the center of the table.

I've never made a diaper wreath before, and no, I did not make it up. Ha! There are tons of different kinds and tutorials out there. I went with the very simple kind. I used a plastic embroidery hoop for the base, and pink and blue ribbons to tie them on to the hoop. I started with one and just worked my way around, alternating the pink and blue as I worked. Then I tied on some travel sized baby wash and shampoo and infant socks to accessorize it. How practical is that?! She can use everything on this wreath! Some of the fancier tutorials I saw use hot glue, which makes the diapers unusable. Too wasteful for me! Diapers are expensive I couldn't imagine just throwing them away like that. I only used about 15 diapers to make this, so the rest of the box of 100 is my gift. We collected about 5 large boxes of Pampers, which should last a couple of months.


So if you are out of ideas on what to give for a baby shower gift, here ya go. You could use a wire wreath form if you want to make a really big one. You could hang it on the door for guests to see as they arrive at a shower, or you could make it to match the décor of the baby's nursery to hang on the nursery door.
I can always find a reason to make a wreath and a place to display it!

Sunday, March 30, 2014

Spring Burlap and Tulle Pennant Wreath

Hellooooo Spring! It is so nice to see you after a very long cold winter!

This wreath is on my front door because I'm so happy to see Spring this year! The burlap wrapped wreath form is actually from my 4th of July wreath I made last year. Click HERE to see the post on that. I just removed the fabric flowers and details and added new things, and I chose PINK!


 So, starting with a naked burlap wrapped form, I wrapped the bottom right corner in pink tulle, then pinned new flowers over it. Then I added a pink burlap pennant across the center, to spell out "SPRING." To hang it I used more of the same pink tulle.


Here is Laila posing for her preK Spring Dance. It is not that formal of an affair, but you know my princess...

Wednesday, March 19, 2014

Coffee Themed Burlap Kitchen Valance

How much do you love this?! I have been wanting to make a burlap valance for my kitchen window for a long time. If I had known how easy it really is, I would have done this way back then. I love burlap and I am glad I waited until I happened to find this coffee themed print. John was actually in Hobby Lobby with me and he suggested I get it! So thanks honey!


These look like 3 different shades, but they are all the same piece of fabric. I was trying different angles to get different shots of it. It is just a neutral burlap color.

It has coffee themed sayings all over it; wake up, time to smell the coffee, keep calm and drink coffee, top of the morning, espresso delight, cappuccino, frappuccino, and caffe mocha which is my favorite treat!


I bought 2 yards at $5.99/yd; printed burlap costs a little more than plain. But with a 40% off coupon, you could save $2.40/yd! I really only needed a half yard. My kitchen window is 44" wide, which lucky for me is the same width as most fabric! So all I had to do was figure out how long I wanted it, and cut! For the top, I just ironed over a top edge to make it look more even. I didn't sew a stitch, just used these black clips that a friend gave me and hung them. Easy peasy! So this adorable piece of fabric you see in my kitchen only cost $2!! That's after coupon, use those craft store coupons every time you go!

While I was in the coffee mood, I tried my first diy sharpie mug. I didn't have scrapbook sticker letters so I just kinda "winged" it. But I think it turned out cute and I'm ready to grab some more mugs (and some scrapbook stickers) and try some more! Here is a pic of my monogram "M" mug. Blog post on it coming soon, it is not as thrifty as the valance because oil based sharpies are not cheap, but I used pink, silver, and gold on this one. I will be making use of more 40% coupons so I can stock up on more colors. I found them on an end cap in Michaels.


Coffee, anyone? :)

Monday, March 17, 2014

Girl Scouts March Meeting

For our March meeting, the girls earned their Social Butterfly Badge.


We talked about starting and holding conversations. We made a list of conversation starters and ways to get a conversation going. For example, "If you had a chance to talk to the President of the United States for 10min, what would you discuss?" Many of them revolved around One Direction! :)

We talked about table manners from other countries. They thought some of these were pretty funny. For example, in the Middle East if you drop bread on the ground, pick it up, kiss it, and raise it to your forehead before putting it back on your plate to show respect for your food and the work that went into making it.

We also talked about setting the table. With families so busy these days, most families don't even eat together. But when they do, I think it's a great skill for these girls to know how to help out their mothers for holidays or get-togethers. I really wanted to make a print out for each girl to take home, but I couldn't find any I liked that weren't too toddlerish. I showed them where everything goes when they set the table, including plates, knives, spoons, forks, cups, and napkins.


To go along with setting a table, we made personalized placemats and napkin ring holders. I bought one yard of pink burlap at Hobby Lobby for $3.99. I washed, dried, and ironed it first to remove all the wrinkles. Burlap is such a naturally rough fabric but you can iron it with a little steam and it does not damage your iron. You can see from the picture below the top half is ironed, the bottom is not. See the difference? Big difference! I then cut it into equal squares. I am wishing I would have bought more fabric because i would have made them bigger. These are only about 9 x 11.

Every time I take a picture of burlap it always looks like it has this crazy zebra like pattern, but it really doesn't! I don't know how to not get this in the pictures, even though I've tried different settings.

I LOVE pink burlap!! So rustic yet feminine at the same time!


We used puffy paint to write our names and whatever else they wanted. Actually, I don't even know if any of them even wrote their names, but they drew all kinds of things that they enjoy. My sporty girls chose their team names, others chose patterns. Emma's proudly displays her new softball team, Bluff City Sox!

 
Horrible pictures, but again, that darn zebra effect!

For the napkin rings we used pipe cleaners and beads. I brought plasticware and napkins for them to practice wrapping. And they used beads to embellish. Didn't get a finished picture of these. But they all did some sort of pattern with their names. Below are Laila's and Emma's.


I sent each of them home with a list of top 10 manners for children, and encouraged them to remember them. I printed these from imom, click HERE for the link.